Rental Listing Photos That Show Renters What Matters
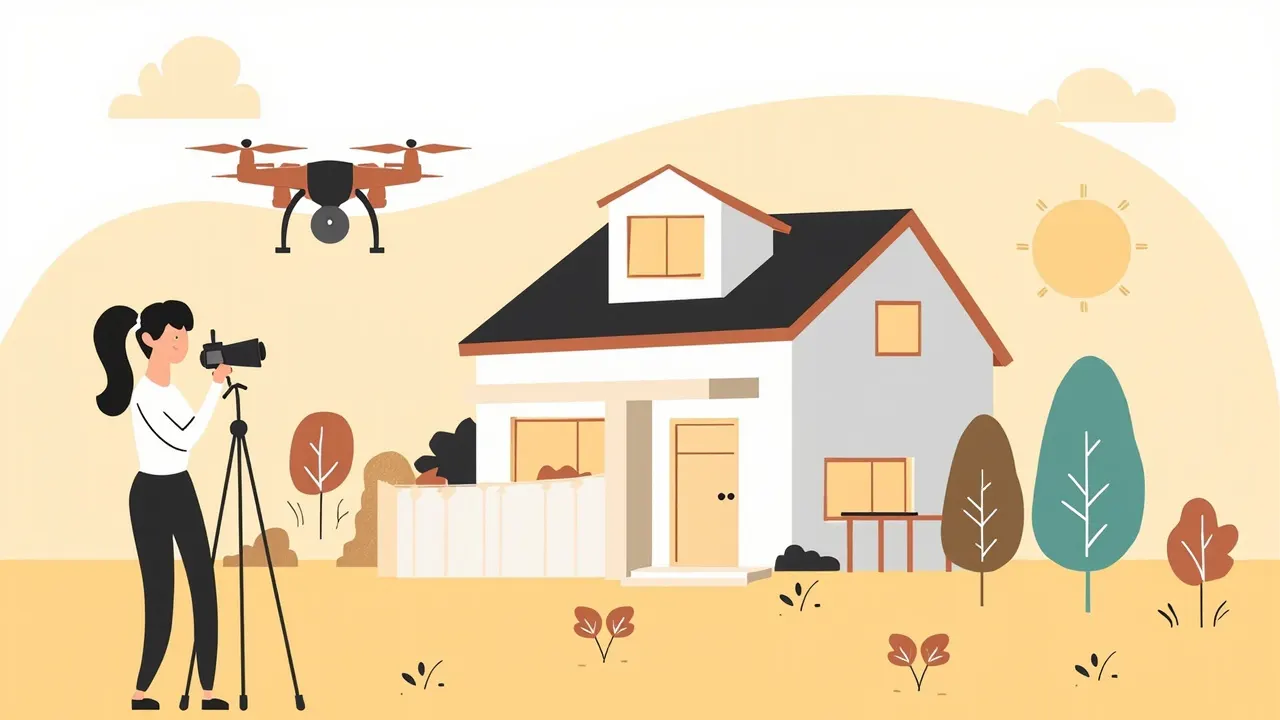
A renter opens a listing between emails, sees a dark living room in the first image, and keeps scrolling. It doesn't mean the apartment is bad. The photos just made the place harder to understand.
Renters are sorting through choices and looking for facts, not a mood. They need to judge light, room size, storage, condition, and what comes with the unit. Good rental listing photos make those answers visible before anyone sends a message.
Show the space as a renter would use it
For each main room, choose one straightforward angle that shows how everything fits together. Stand near the doorway, keep the camera at standing height, and leave enough floor visible to show where furniture could go. A careful photo should help someone picture the room, not make it look like a different unit.
- Frame the bedroom so the bed area, closet, and a usable stretch of floor are visible.
- Show the kitchen counter, sink, stove, and refrigerator together instead of isolating one shiny detail.
- Include the shower or tub, vanity, and bathroom floor in the same bathroom photo.
- Open curtains where possible and use the room's normal lighting, but avoid a mix of dark corners and blown-out windows.
Take a second look at anything you left in the frame. A trash bin, a stack of boxes, or cords across the floor takes attention from the space itself. Clear those items before the shoot, then put the room back the way a renter could actually use it.
Make condition and included features easy to check
Applicants often study the small stuff because it becomes their stuff for the length of a lease. Floors, counters, appliances, bathroom surfaces, and window condition deserve clear images. If something needs cleaning or repair, show it honestly and deal with it before publishing.
- Include the floors and walls in the shot so marks, wear, or repairs are visible.
- Photograph the appliances that stay with the unit, including their current condition.
- Show closets, shelving, cabinets, and other storage that the renter can use.
- Make parking, a balcony, patio, yard, or laundry area visible when those are included.
You do not need to turn a flaw into the main photo. You do need to avoid hiding it until the tour. Clear pictures make questions easier to answer and reduce surprises later.
Give context without exposing private details
Exterior and shared-space photos can save a renter from wondering what they will find on arrival. A normal view of the entrance or parking area is usually more helpful than a dramatic shot. Context should make the rental easier to find, not reveal who lives there.
- Show the building entrance or front path clearly.
- Include parking, a lobby, laundry room, yard, or other shared space when it is part of the rental.
- Avoid photographs with access codes, resident names, mail, documents, or personal artwork in view.
- Do not include a close view of a lockbox, security camera, or other security detail.
These rental listing photos answer basic questions before the application does. They also help you keep the listing focused on the unit instead of a long string of messages about where to park or which door to use.
Do one phone test this week
Open the live listing on a phone and view every image at normal size. Look for a photo where the room feels dark, cramped, confusing, or disconnected from the rest of the home. Fix the weakest one first.
- Clear counters and surfaces, close random doors, and remove shoes, delivery boxes, toiletries, pet bowls, and charging cords.
- Take one replacement photo from near the doorway with the whole room visible.
- Check that the image still makes sense after the listing platform crops or scales it.
- Read the room description beside the photo and remove details that the photo already communicates.
Do this week: choose the weakest room in the listing, make one replacement photo, and replace it on the live listing. One clear improvement is more useful than endlessly rearranging the set.