New Construction Real Estate Photos: A Practical Shoot Checklist

You pull into a new-build community and the house looks sharp from the curb. Then the front door opens and you see paint buckets in the hallway, appliances still wrapped, and a builder walking through with a punch list. That changes how you should plan the shoot.
Confirm what is finished and accessible
For new construction real estate photos, don't plan around an imagined finished house. Shoot what buyers can actually inspect on the showing day.
- Confirm you are photographing the exact home under contract. A builder's model home and the client's contracted lot may be different properties.
- Get access, gate, lockbox and sales-office instructions before shoot day.
- Ask which work is complete, including flooring, paint, cabinets, appliances, fixtures, garage doors and window coverings.
- Confirm that electricity, water and lighting will be on. Dark rooms and dead appliances make a finished home look unfinished.
- Ask whether furniture or builder staging will be present, and photograph the property as it will be shown.
Make every room easy to understand
Buyers often see the listing photos before they see the floor plan. Give each room one clear image that explains its size, layout and purpose.
- Start each main room from a corner so the walls, floor and windows establish the full space.
- Photograph the kitchen, bathrooms and appliances only as they currently appear. Do not imply that unfinished or uninstalled features are included.
- Include bedrooms, flex rooms, offices, laundry areas, closets, pantries and garages. Easy-to-miss rooms often become important showing stops.
- Capture useful built-ins, storage and finishes, but keep the images honest about the home's actual condition.
- Avoid ultrawide views that make rooms look much larger than they are. Straight walls and natural proportions build trust.
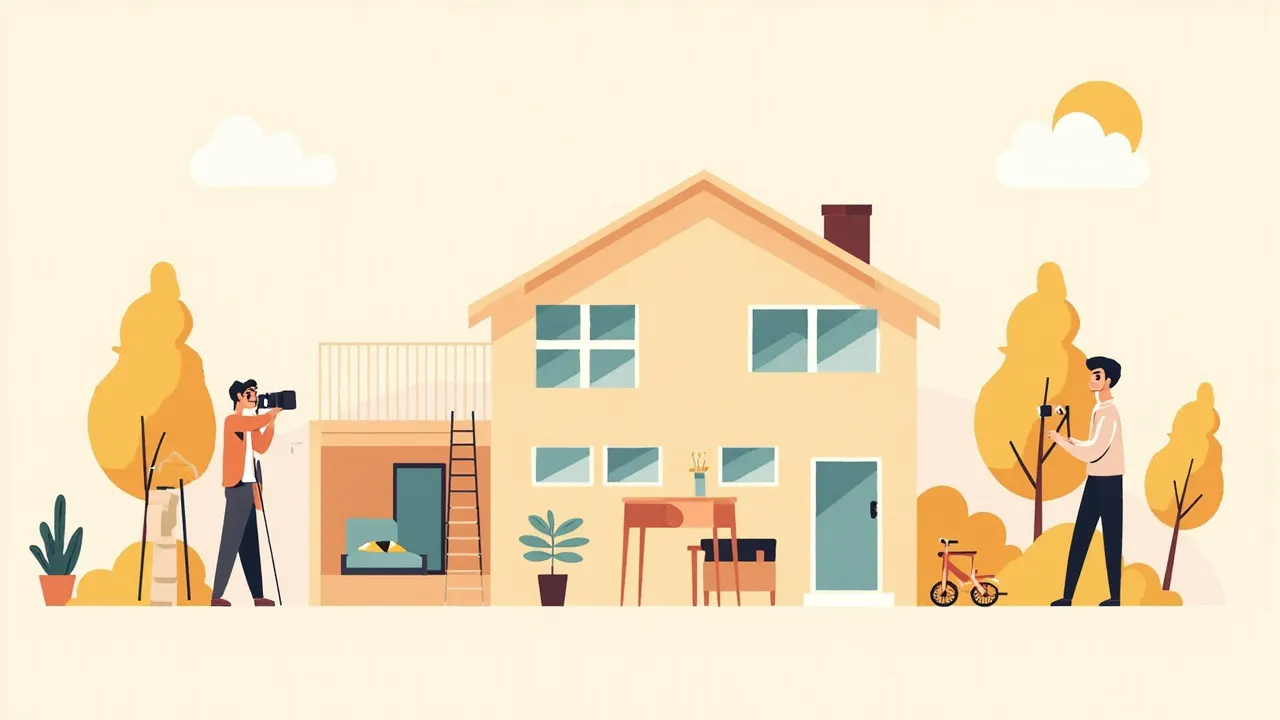
Show the exterior and lot clearly
The exterior sequence should begin before the front door. Buyers need to understand the home's position, orientation and relationship to the lot.
- Capture the street approach, front elevation, garage, side and rear elevations, and any view that explains the home's setting.
- Check the yard for tools, litter, loose materials and leftover construction signs before photographing.
- Show the lot shape and nearby roads or landmarks when they help buyers understand the property.
- Use an aerial image for useful context, not to make a small lot appear enormous. Ground-level photos still need to carry the listing.
Run a final walk-through
Set aside a short walk-through before the camera comes out. It catches small problems while they are still easy to fix.
- Start at the curb and walk through every finished room and accessible exterior area.
- Turn on the lights, open the blinds and remove tools, buckets, cords and protective packaging.
- Check counters, sinks, appliance fronts, windows and fixtures for dust, labels, stickers or protective film.
- Confirm that each photographed feature belongs to the property being listed.
- Make sure the home is presented in the same condition buyers will see during the showing.
If you don't have a photographer booked, EZ Shots handles Metro Detroit new builds with interior, exterior and drone photos in one package. Booking is $0, and you pay after seeing the gallery.
This week, send the builder one short message asking for access instructions, completion status, utility arrangements, staging details and site-cleanup plans. Then walk the route yourself once before photo day. That step can prevent a missed room, a locked area or a feature nobody knew was ready.