Listing Video Tips for a Smooth Morning Shoot
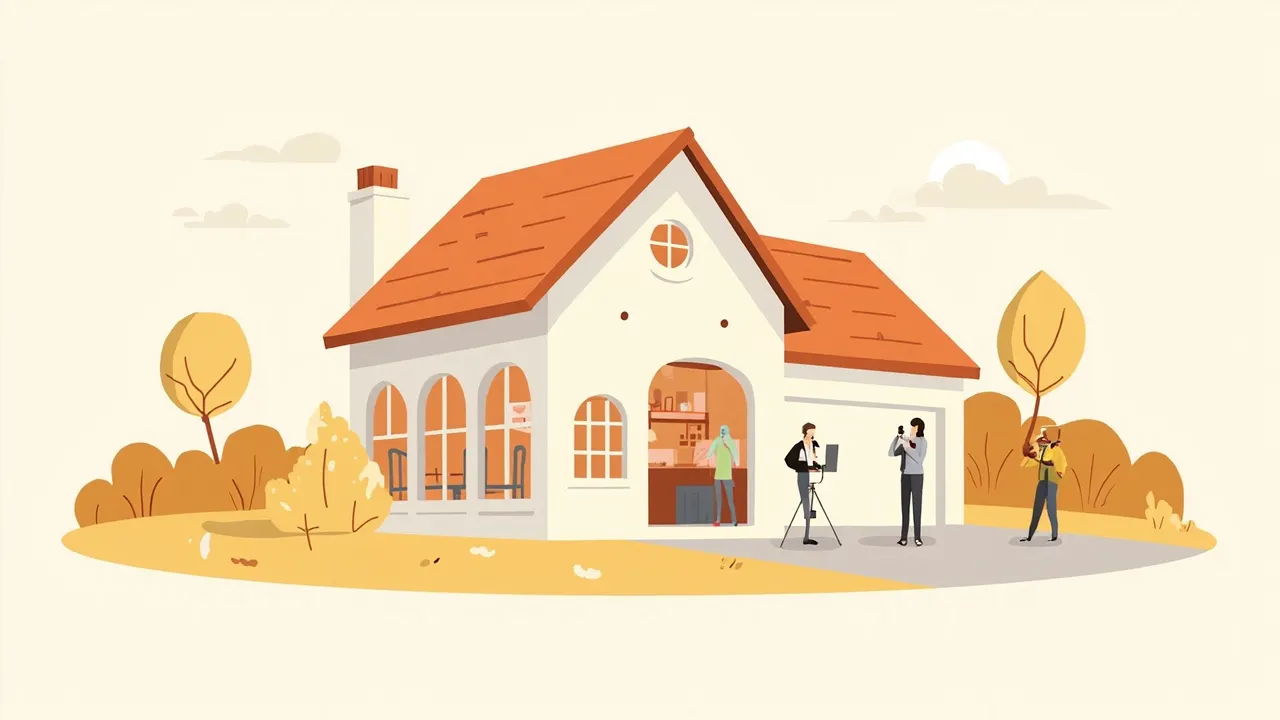
On a typical listing video morning, the front door opens and the seller heads for the kitchen, where the mail is still piled on the counter. The camera is ready, but the house is about to make a cluttered first impression. A little preparation before filming starts keeps the shoot calm and keeps attention on the home.
Your job that morning is not to direct every shot or follow the camera from room to room. Make the property easy to film, tell the person shooting what matters most, and keep interruptions low. That simple preparation is the difference between a loose walkthrough and a listing video that feels intentional.
Start with a seller check-in
Spend the first few minutes asking what makes the home worth pausing on, then agree on a simple route. Sellers often want every room included, so talk through what belongs in the final video and what should stay private. The goal is a clear plan, not a long conversation.
- Confirm the entry plan and the agreed start time.
- Ask the seller to name one or two must-have details.
- Confirm where pets will be and which areas should be skipped.
- Make sure the seller knows where to wait during active filming.
Clear the filming route
Walk the route as a buyer would. Open the blinds, pick up daily clutter, and close laptop screens if they will catch reflections. A video shows movement continuously, so a loose cable, smudged mirror, or half-open door can pull attention away from the room itself.
- Clear a path from the entry to each room and to any outdoor area you plan to show.
- Put away mail, dishes, toys, chargers, and anything resting on counters.
- Wipe mirrors and switch off screens that reflect the camera or lights.
- Open blinds and curtains, then aim for even light throughout the route.
- Leave interior doors fully open or fully closed before filming.
Do this week: write a one-sentence seller check-in that asks which two rooms or features must be shown and where the pets should be during the shoot.
Give the shoot a simple order
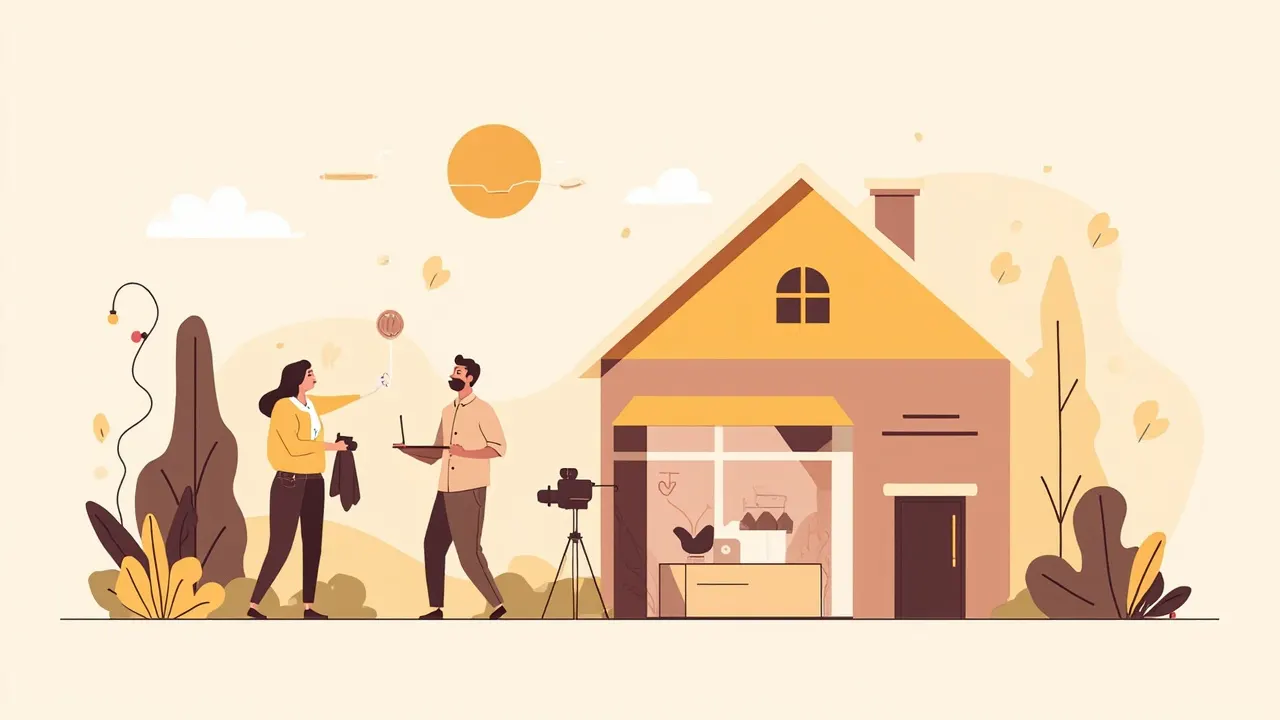
These listing video tips matter most when the sequence feels obvious: exterior, entry, main living spaces, kitchen, useful bedrooms and baths, then an outdoor view. You do not need every room or a dramatic tour. You need a route that makes sense and gives the home's best qualities enough time.
- Lead with the exterior or strongest arrival view.
- Move from public rooms to private rooms in a natural order.
- Spend more time where the home has a clear feature or selling point.
- End with a memorable view or the best outdoor space.
Keep the actual shoot calm
With the seller's permission, park vehicles where they will not crowd the approach, silence phones, and settle pets before the first take. The seller should remain out of active rooms unless appearing in the video is part of the agreed plan. That protects privacy and keeps the walkthrough from stopping every few steps.
- Do not move furniture, open doors, or switch lights during a take.
- Keep the listing details ready for a voiceover or closing remarks.
- Walk the route once immediately before filming.
- Give the person filming uninterrupted time to move through each space.
If you want a one-minute listing video added to a photo shoot, EZ Shots offers the video as a $100 add-on to its Real Estate Media Package. Book online at $0, then pay after the shoot once you have seen the photos.