Listing Photos for Real Estate Flyers: What to Print
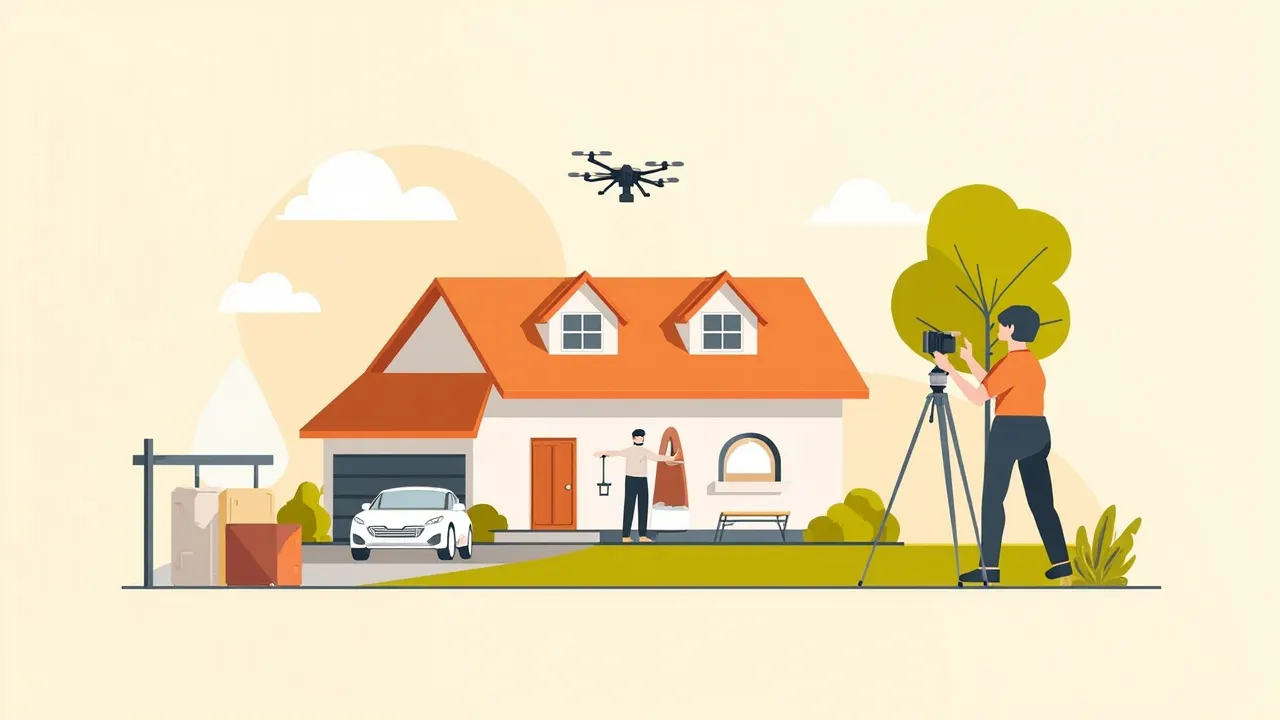
You are at the kitchen table with the listing photos open on your laptop and an open house flyer beside them. The open house is tomorrow, and the flyer still needs the right photos. Picking by room order is easy, but it does not always create a page that makes sense to a buyer.
What the flyer needs to do
An open house flyer has a narrow job: help someone recognize the property, remember one reason to like it, and know where to show up. It is not a replacement for the full photo set. The images should remove friction, not make the buyer study the page.
Choosing listing photos for real estate flyers comes down to what reads instantly. If someone can tell what the home looks like from across a room, the image is probably doing its job. If they need to hunt for the feature, use a different photo.
Which photos earn their space
Start with a simple set. You do not need every room, and you should not let the cutest angle take over the page.
- One clear exterior photo, preferably from a natural eye-level view that matches the entrance buyers will use.
- One main living space that shows the home's character and flow. A furnished room usually gives more scale than an empty, distant shot.
- One photo of the home's strongest feature, if the benefit is obvious in the picture. A fireplace, renovated kitchen, finished lower level, or backyard may work better than the most technically perfect room.
- One optional supporting image, chosen for the questions buyers will have. A bedroom may answer a practical question. An aerial can help when the lot shape or setting is the selling point, but it rarely replaces the front exterior.
Skip tiny spaces, cluttered rooms, and photos where the wide-angle distortion makes the home look odd. Also skip any image that needs a caption to explain why it matters. The best flyer photo should make its point without you making a sales pitch.
Make them readable in print
Screen quality can hide weak details. A photo that looks crisp on a laptop may look soft on paper, especially when it is reduced to a small box on the flyer. Check every image at the size it will actually appear.
- Print one actual-size proof and view it from across the table or at arm's length. If the room blends together, replace that photo.
- Check the file at 300 pixels per inch at its printed dimensions. A high-resolution original matters more than an image downloaded from a small screen.
- Crop away excess ceiling, pavement, neighboring structures, and awkward edges. Keep the house centered with enough breathing room to look intentional.
- Watch the printed color, not just the screen preview. Dark rooms can lose detail, and bright walls can look flatter than they did online.
Do this week: mark your top three images, print one test page, and hold it at arm's length. Choose the set that still looks clear after a few seconds away from your desk.
Give the page a clear order
On a one-sided flyer, make the exterior the visual anchor. Place one or two interior photos beneath it, then keep the open house details in a clean, easy-to-read area. If space gets tight, remove an image rather than shrinking all of them until the rooms look like dark boxes.
For a folded handout, put the exterior and essential visit details on the front. Use the inside for the living space and strongest feature. A buyer who only looks at the front should still know which home it is. Someone who opens it should get a quick sense of what they will see.
Before the print run, cover the photos with your hand or a sticky note and check whether the remaining visible image still identifies the property. Then check the address, open house time, and property details. A strong picture can pull attention, but clear information gets people to the door.