Consistent Drone Listing Photos: A Practical Control Guide
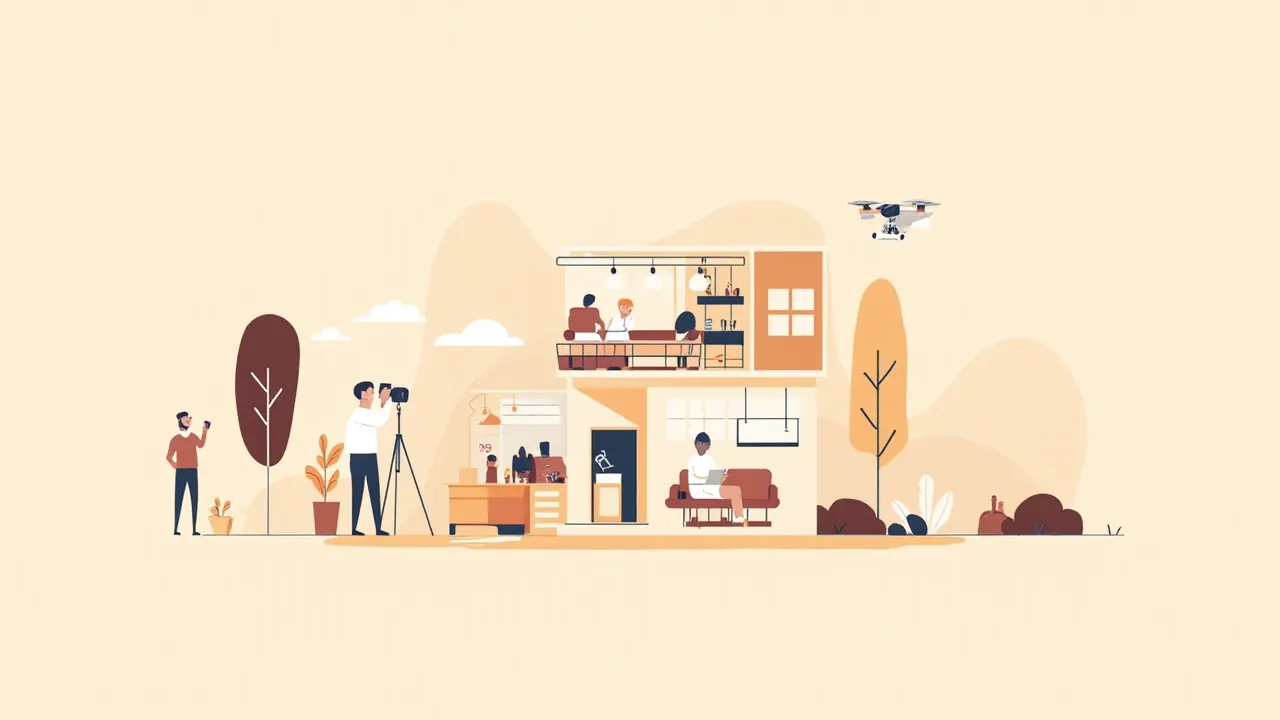
You pull up a listing on your phone and the aerial looks clear. The roof is crisp and the lot is easy to understand, but the house sits in one corner of the frame. Nothing is technically wrong with the photo. It just does not feel composed.
The same problem appears when every listing has a different viewpoint, even when each image is attractive on its own. Consistent drone listing photos begin with a repeatable plan for what the aerial must show and where the home should sit in the frame.
Choose one primary angle
Start by deciding what the hero aerial needs to accomplish. Is its job to show the front approach, explain the shape of the roof, reveal the relationship between the house and lot, or give buyers useful neighborhood context? Pick the strongest purpose and build around it.
- Face the camera toward the most useful feature instead of simply aiming at the middle of the property.
- Keep the home's vertical lines as straight as the scene allows.
- Place the house slightly off center when that leaves a cleaner view of the lot or street.
- Use the same visual priority for every listing: the home first, then its setting.
Let altitude serve the story
Higher is not automatically better. A lower working altitude can give the house more depth and make rooflines and entries easier to read. A higher viewpoint is useful when the goal is to show the street position, nearby buildings, or the overall shape of the property.
- Work lower when the shot should emphasize the structure of the home.
- Move higher when buyers need a clearer sense of the lot and its surroundings.
- Avoid climbing so far away that the house becomes a small shape in a large frame.
- Check the background for poles, wires, trees, and neighboring structures before settling on an altitude.
Good drone listing photos change altitude to suit the subject rather than repeating one height everywhere. The right choice depends on what the buyer needs to understand, not on what worked at the previous property.
Make orientation deliberate
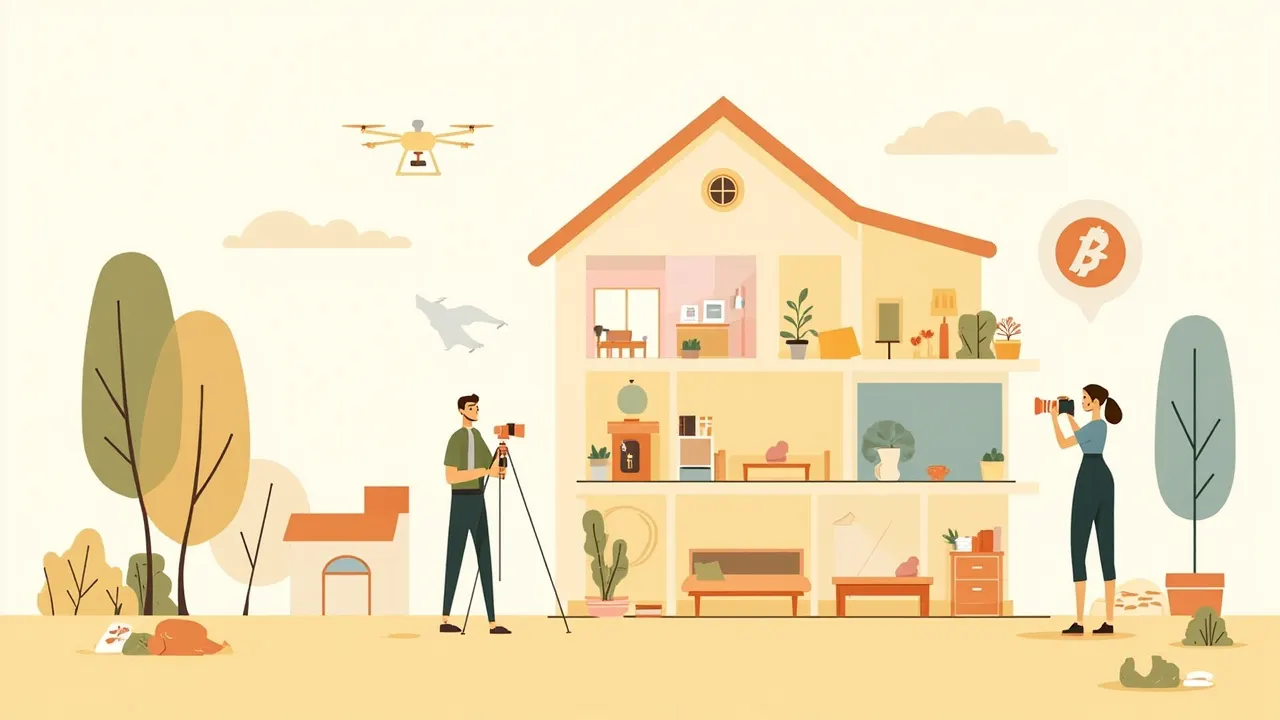
Orientation means more than keeping the camera straight. It means deciding which side of the house leads, where the home sits in the frame, and how the street, trees, and neighboring structures fall around it. Those choices make separate aerials feel like part of the same listing.
- Identify the clearest approach before the shoot begins.
- Keep the primary entrance from reading as an accidental side view.
- Use a driveway, street, tree line, or neighboring roof as a simple orientation cue.
- If one angle works well, use it as the reference for additional shots rather than changing direction without a reason.
Review the frame, not just the flight
Ask the pilot to explain the intended hero angle and why the altitude changed. That conversation is useful even if another photographer handles the shoot. You should be able to say what each aerial adds and why the first image was selected.
- Check that the home is the first thing your eye finds.
- Look for clipped rooflines, awkward gaps, and distracting background objects.
- Confirm that vertical lines look straight and the horizon does not feel tilted.
- Make sure the aerial agrees with the listing description and the ground-level photos.
Commercial drone work needs a Part 107 certificate. EZ Shots includes drone aerials in its $179 Real Estate Media Package, and booking can be done online for $0.
This week, pick one current listing and write down three things: the hero feature, whether the shot needs more depth or context, and one orientation cue. That short briefing will make the next aerial more deliberate.